
Transform your outdoor area into a breathtaking spectacle with a unique, personalized touch. This post will delve into fascinating “Do It Yourself” (DIY) archway ideas that will take your garden, patio or backyard to the next level. These ingenious yet simple to implement designs will not only redefine your space but also serve as a testament to your creativity.
Creating your own gateway is more than just a beautification project; it’s an opportunity to infuse personality and character into your outdoor living area. We’ll explore different styles, materials, and structures that can easily be adjusted to suit your unique taste. From rustic wooden arches that blend seamlessly with nature, to modern metal arches that exude an industrial vibe, there’s an idea for every design inclination.
So, prepare to be inspired! This post will equip you with the knowledge, tips and tricks needed to elevate your outdoor space. Whether you’re a seasoned DIY enthusiast or a novice looking to start a new project, these DIY archway ideas are the perfect way to leave a unique stamp on your home. So, sit back, let your imagination take the wheel, and get ready to transform your outdoor area into an oasis you’ve always dreamed of.
Materials Required for Building Your Own Gateway
To start with the process of building a DIY archway, it is crucial to know about the essential materials required.
- Wood or Metal: The first and foremost material required is wood or metal. The choice of material largely depends on your personal preference, and both have their own set of advantages. Wood offers a rustic look and is relatively easier to work with, while metal provides a sleek, modern appearance and is more durable.
- Screws: Another critical material required for building a gateway is screws. They help in firmly holding the different parts of the archway together.
- Measuring Tape and Level: These tools help in ensuring that your archway is of the correct size and level.
- Paint or Stain: To enhance the look of your gateway, you can paint or stain it according to your preference.
Choosing the Right Material
The choice of material is crucial in determining the longevity and aesthetics of your gateway. If you opt for wood, ensure that it is pressure-treated, as this would make it resistant to rot and insects. On the other hand, if you choose metal, ensure that it is coated to prevent rusting.
Steps to Build Your Own Gateway
Building a DIY gateway might seem intimidating at first, but by following the steps mentioned below, you can create a magnificent archway that elevates your outdoor space.
Designing the Gateway
The first and arguably most critical step in building a DIY gateway is the design phase. A well-thought-out design lays the foundation for a successful build and ensures that your archway not only stands structurally sound but also visually enhances your outdoor environment. It is during this phase that creativity meets functionality, allowing you to conceptualize a gateway that suits your style, space, and purpose.
Visualizing Your Ideal Structure
Before putting pen to paper, take time to walk around your garden, backyard, or patio. Observe the layout, the lines of sight, and the style of your home and landscaping. Do you want your gateway to act as an entry to a garden path? Will it serve as a focal point, or is it more of a subtle accent that ties elements together?
Visual inspiration is key. You may find it helpful to browse magazines, websites, or social media platforms like Pinterest to see what types of gateways catch your eye. Compile a mood board of colors, shapes, and materials that resonate with your vision. From these inspirations, you can begin to sketch a preliminary design that reflects your preferences.
Considering Proportions and Scale
Proper proportions ensure your gateway feels integrated rather than out of place. If you have a small garden, a towering arch may feel overwhelming, whereas a large backyard could swallow a modest frame. Measure the area where you intend to place the gateway. Consider the height, width, and depth required not only for aesthetic purposes but also for practical use. For example, if you plan to walk through it regularly or push a wheelbarrow beneath it, ensure the clearance is generous enough for comfortable passage.
A common and visually pleasing proportion for an archway is one that is slightly wider than the average shoulder span (approximately 3 to 4 feet) and around 7 to 8 feet tall to avoid feeling cramped. However, you can adapt these numbers based on specific needs and the architectural scale of your surroundings.
Choosing a Shape That Fits the Space
The shape of the gateway plays a crucial role in the overall design. Here are a few common options to consider:
- Arched top: A soft, curved arch creates a classic and romantic effect. It pairs beautifully with climbing plants like roses or jasmine.
- Flat top (rectangular): Offers a clean, modern look. This is ideal for minimalist gardens or structured outdoor spaces.
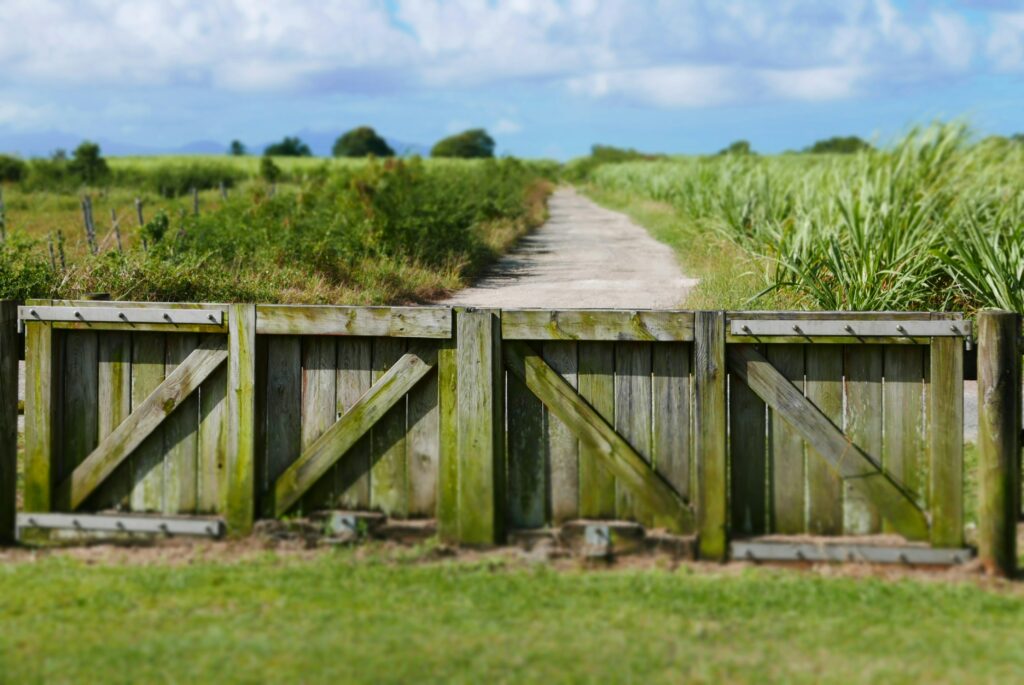
- Gabled (A-frame): Resembles the shape of a house roof and works well for rustic or farmhouse-style environments.
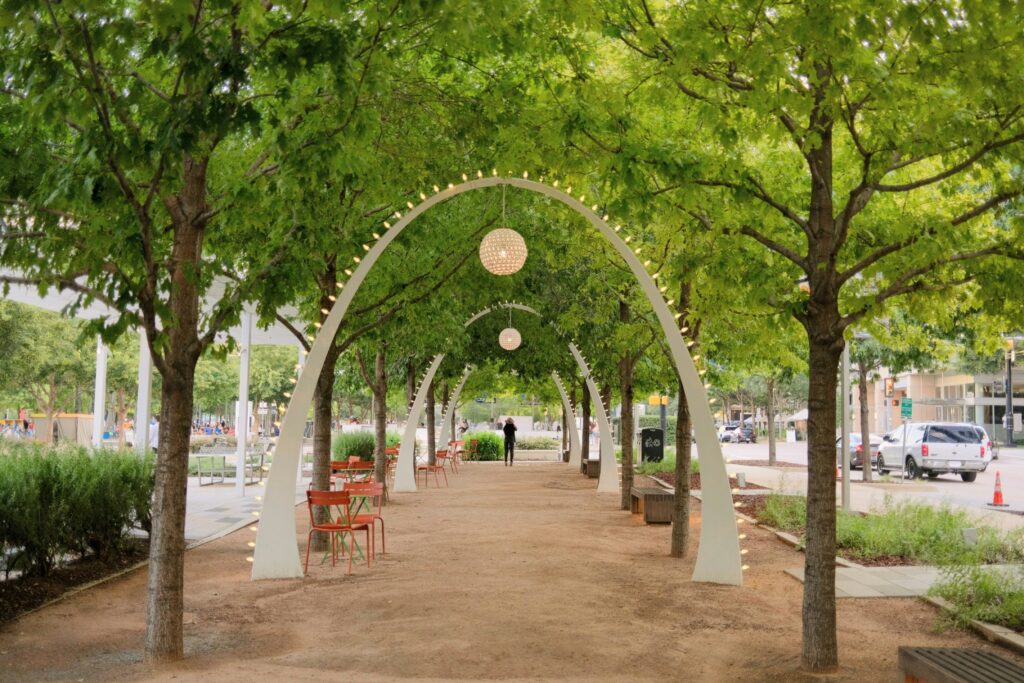
- Pergola-style: Features a flat top with horizontal slats that extend beyond the posts. Great for creating shade or supporting hanging plants and lights.
Whichever shape you choose, ensure that it visually complements the lines of nearby structures, such as fences, sheds, or patio overhangs.
Integrating Functional Features
Beyond aesthetics, think about how your gateway can serve functional roles in your outdoor area. Will it be the base for a climbing plant? Should it include hooks or crossbars for stringing lights, lanterns, or seasonal decorations? Would a bench or built-in seating on either side enhance its usability?
You may also want to design your gateway with a trellis component, especially if you’re growing vining plants. Lattice panels or horizontal slats can offer structure for flora while doubling as a privacy screen or shade provider.
Mapping Out Dimensions and Materials
Once your concept feels complete, translate it into a scaled sketch. Label dimensions clearly, taking care to include details such as beam thickness, spacing of posts, and angles of joints. This drawing will be invaluable when you begin cutting and assembling materials.
At this stage, also finalize your material selection. Will you use pressure-treated pine, cedar, wrought iron, PVC, or reclaimed barn wood? Each material has different qualities in terms of texture, durability, cost, and ease of use.
Don’t forget to think about how your gateway will be anchored to the ground. Will it be secured in soil using concrete and post spikes, or will it attach to an existing patio base? The design should account for structural stability and weather resilience.
Accounting for Accessories and Lighting
Your design can also include built-in accessories that enhance the final look and feel. Here are a few ideas:
- Integrated planters at the base of the posts for colorful blooms.
- Lantern hooks for solar lights or vintage-inspired fixtures.
- Decorative trim along the top beam or vertical posts to echo architectural details of your home.
- Nameplates or signs if your garden has a designated name or area.
By incorporating these ideas into your design sketch from the beginning, you’ll ensure a cohesive final result.
Creating a Project Plan
Once the design is finalized, create a project checklist and timeline. Break the project down into stages: sourcing materials, preparing the site, cutting and assembling components, painting or staining, and finally, installing and decorating.
This project plan not only keeps you organized but also gives you a realistic view of how long the entire build may take. Depending on complexity and time availability, your DIY gateway could be completed in a weekend or stretched over several weeks.
Measuring and Cutting
Use the measuring tape to measure the length, width, and height of the gateway according to the design. Mark these measurements on your chosen material and use a saw or cutter to cut the material accordingly.
Assembling the Pieces
Once the pieces are cut, the next step is to assemble them. Start by attaching the sides of the gateway. Once this is done, attach the top part. Make sure that all the pieces are properly aligned and secure them using screws.
Applying Paint or Stain
The last step is to apply paint or stain. This not only enhances the appearance of the gateway but also provides an additional layer of protection.
Design Ideas for Your Gateway
The design of your gateway can make or break the overall aesthetics of your outdoor space. Here are some design ideas that you can consider:
- Simplistic Design: If you prefer simplicity, a basic rectangular or semi-circular design would be perfect. You can enhance its look by adding a couple of flower pots on either side.
- Geometric Design: For a modern look, consider a geometric design. This involves incorporating shapes like squares, rectangles, and circles into the design.
- Lattice Design: A lattice design would be perfect if you want to grow climbing plants on your gateway.
Lighting up the Gateway
Adding lights to your gateway can enhance its appearance and make it look more welcoming. You can add fairy lights, lanterns, or spotlights depending on your preference.
Creative Enhancements for Your DIY Gateway
After constructing and maintaining your DIY gateway, the next exciting step is to personalize and enhance it even further. A beautifully crafted gateway can act as more than just a functional element. It can serve as a statement piece, a focal point of your garden, or a thematic entrance that reflects your personality. With a few thoughtful additions, you can transform your archway into a show-stopping element that leaves a lasting impression.
Incorporating Climbing Plants
One of the most popular enhancements for a garden gateway is the inclusion of climbing plants. Species such as clematis, wisteria, jasmine, or climbing roses are perfect for weaving through wooden or metal frameworks. These plants not only provide seasonal beauty but also introduce fragrance and color.
To support plant growth, consider installing a trellis or wire mesh on the sides of the gateway. This support system helps guide the vines as they climb and ensures even coverage over time. Regular pruning and training of the plants are necessary to maintain a tidy and aesthetically pleasing look.
Adding Built-In Seating
If your outdoor area allows, incorporating seating near or around your archway can turn the structure into a cozy retreat. A bench beneath a leafy arch or integrated seating along the sides of a gateway transforms the area into a tranquil spot for reading, relaxing, or enjoying a view of your garden.
Materials for the seating should match or complement the archway for visual harmony. Wooden benches blend well with natural themes, while wrought iron or steel seating adds a touch of elegance and durability.
Integrating Lighting Features
Lighting not only adds ambiance but also extends the usability of your garden space into the evening hours. Solar-powered lights, LED string lights, or lanterns can be integrated into the archway without requiring complicated wiring.
Fairy lights wrapped around the structure or hanging pendant lights from the top beam can create a magical atmosphere. Uplighting from the base can highlight the plants or the arch’s craftsmanship. Choose warm lighting tones to evoke comfort or cooler tones for a modern appeal.
Seasonal Decorations
Your gateway can evolve with the seasons through thematic decorations. In spring, adorn it with pastel-colored ribbons and flower garlands. Summer might call for bright fabrics and hanging planters. Autumn provides an opportunity to use pumpkins, cornstalks, or dried flowers, while winter might invite evergreen garlands, ornaments, or even a string of icicle lights.
Seasonal updates keep the structure feeling fresh and relevant while giving you a creative outlet throughout the year.
Personal Touches and Signage
Personalizing your archway with signage can add charm and function. Welcome signs, family name plaques, or even quotes engraved or painted onto wooden boards give the structure character. You can also integrate functional signage, such as directional arrows for large garden paths or event spaces.
Decorative Elements and Hardware
Use decorative brackets, finials, or custom metalwork to enhance visual interest. These can be sourced from hardware stores or crafted by artisans. Hardware not only reinforces the structure but can elevate the overall design by adding intricate or bold detailing.
Art and Sculpture Integration
If your garden follows a more eclectic or artistic theme, you might consider incorporating sculptural elements. Small statues at the base, wind chimes, or hanging mobiles can turn the gateway into an art installation. This approach is especially fitting for contemporary or whimsical garden settings.
Creating Thematic Entryways
A gateway can also reflect a specific theme. For instance:
- A Zen garden could feature a minimalist bamboo arch with smooth stones and subtle lighting.
- A Mediterranean theme might involve stucco or painted wooden arches with terracotta pots nearby.
- An English cottage garden could have a whitewashed wooden arch draped in lush greenery and pastel flowers.
Each thematic touch adds narrative depth and transforms your garden into a cohesive experience.
Accessibility and Functional Improvements
While aesthetics are important, functionality should not be overlooked. Make sure your gateway is accessible for all, including those who may have mobility concerns. Paths leading through the arch should be wide enough for wheelchairs or strollers and made from slip-resistant materials.
Adding a gate for privacy or animal control may also be necessary, especially if the arch serves as an entry point. Gates can be integrated into the design using matching materials and hardware.
Combining Water Features
For an added layer of tranquility, incorporating water features near your gateway can be incredibly effective. A small fountain or pond just beyond or beneath the archway can enhance the sensory experience, adding the soothing sound of running water to your garden.
Eco-Friendly Considerations
Use sustainable materials wherever possible. Reclaimed wood, recycled metals, or low-VOC paints and finishes are better for the environment and can give your project a distinctive, eco-conscious charm.
Rainwater harvesting systems can be integrated into the sides of the archway using decorative rain chains, guiding water from the archway’s roof into storage barrels or irrigation systems.
Crafting a Story Through Design
Ultimately, your DIY gateway is more than a structure. It is the threshold into your creative space, your retreat, your story. Each design element, plant, light, and finish can be chosen to reflect what you want to feel when you walk through it. Whether it’s a serene passage into a flower garden, a welcoming arch for guests, or a dramatic focal point for entertaining, it’s a reflection of your vision.
Continue to experiment, refine, and enjoy the space as it evolves. The beauty of a DIY project is its flexibility and your freedom to adapt it as you grow. With time, care, and creativity, your archway will become a cherished feature of your outdoor space, inspiring admiration and serving as a source of personal pride.
Conclusion
In conclusion, adding a DIY archway to your outdoor space can significantly enhance its aesthetic appeal and functionality. These gateway ideas are not only cost-effective but also offer the flexibility to customize based on your personal taste and space requirements. Whether you choose to build a rustic wooden archway or an elegant metal one, the options are endless. It’s all about transforming your outdoor area into an inviting and inspiring space. Remember to consider elements like durability, style, and the overall theme of your space while making your selection. As long as you have a clear vision and the right materials, building your own archway can be a rewarding and fulfilling DIY project. So go ahead, let your creativity flow, and take your outdoor space to the next level with a stunning DIY gateway. It’s a surefire way to impress your guests, increase your property value, and most importantly, create a space where you’ll love to spend time. After all, there’s nothing quite like the satisfaction of building something beautiful with your own hands.