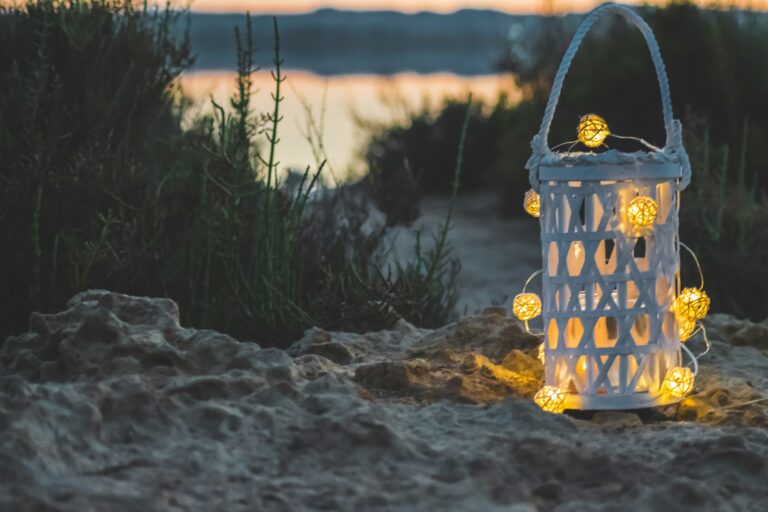
Step into the world of creativity, where your imagination is the only limit. With a sprinkle of whimsy and a dash of your unique flair, you can transform any space into a festive wonderland. The power to do this lies right at your fingertips with a simple, yet fun DIY project – Fabric Scrap Bunting.
Crafting has never been more exciting, especially when you can create something beautiful from materials you already have. Fabric scrap bunting, a charming, upcycled décor option, promises to add a delightful touch to your surroundings. It’s a project that calls to both novice and experienced DIY enthusiasts, sparking joy and creativity in every stitch.
Our DIY fabric scrap bunting tutorial will guide you through the process, providing easy-to-follow steps to help you breathe new life into your fabric scraps. Be it for a festive occasion, a party, or simply to add some color and warmth to your everyday décor, this project will surely inspire you.
In this guide, we’re going to delve deep into the heart of DIY, and reveal the secrets to creating your own magical fabric scrap bunting. We’ll explore the best types of fabric to use, offer tips on how to cut your scraps into the perfect shapes, and provide guidance on how to assemble your bunting for the most enchanting effect.
Get ready to spark joy in your surroundings with this creative DIY project. By the end of this journey, you’ll have added a touch of whimsy to your décor and experienced the satisfaction of creating something truly beautiful from scratch. So, roll up your sleeves and let the magic of DIY take over. You’re about to get festive with fabric scrap bunting!
Understanding the Concept of Fabric Scrap Bunting
Fabric scrap bunting is a delightful, eco-conscious craft that transforms leftover textile remnants into vibrant, handmade garlands. Whether you’re looking to dress up a child’s bedroom, add a rustic charm to a garden party, or create themed décor for special occasions, this DIY project offers a budget-friendly and customizable way to bring warmth and personality into your space.
The idea is simple yet magical. Scraps of fabric—perhaps from old clothes, past sewing projects, or donated bundles—are cut into uniform or creatively varied shapes and sewn or tied onto a string. Hung along walls, fences, mantels, or even trees, they create visual interest and celebrate the beauty of handmade décor. The outcome is more than just decoration—it’s a patchwork of memories, creativity, and sustainability stitched together.
Materials and Tools Required for a Fabric Scrap Bunting Project
Before you begin, gather the following items:
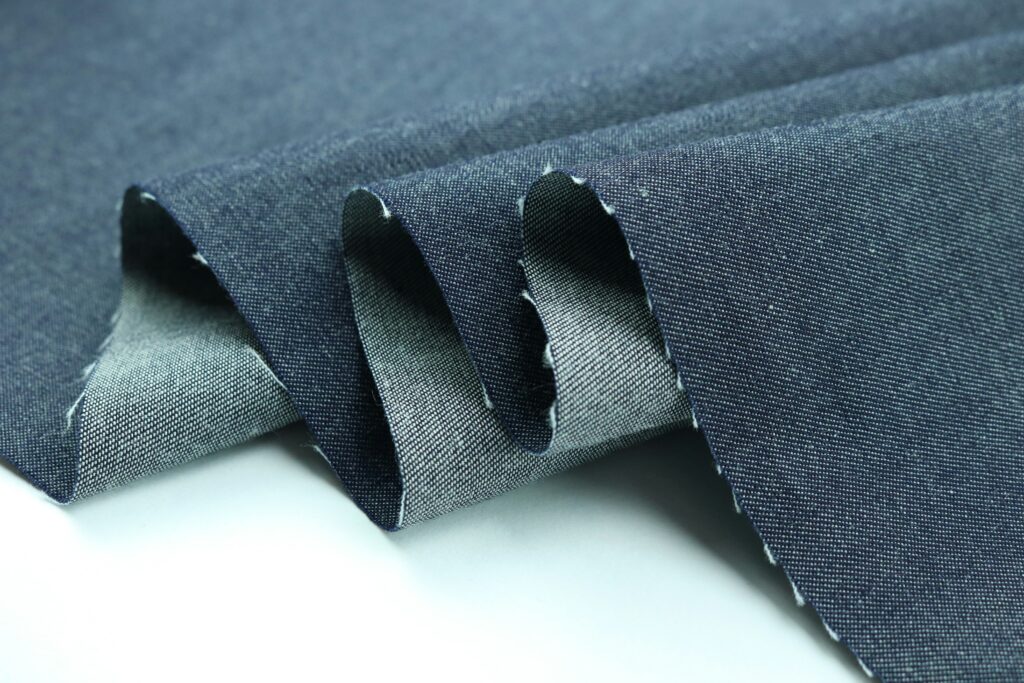
- Fabric Scraps: These can be any leftover textiles, but cottons, linens, and blends with some structure work best.
- String, Ribbon, or Twine: The base onto which your fabric flags will be attached.
- Fabric Scissors or Rotary Cutter: To ensure precise, clean edges.
- Sewing Machine or Hand-Sewing Kit: Depending on your skill level and preference.
- Iron and Ironing Board: For pressing your fabric to make it easier to cut and sew.
- Cardboard Template: Useful for ensuring all your bunting flags are uniform in size.
- Optional: Pinking shears to prevent fraying, fusible interfacing for stiffening fabric, or fabric glue for no-sew versions.
Choosing the Right Fabrics for Aesthetic and Functionality
Your fabric choices will shape the look and feel of your bunting. Here are some factors to consider:
- Texture and Weight: Medium-weight cottons are ideal. Avoid fabrics that are too sheer or too thick.
- Color Coordination: Choose complementary or contrasting colors depending on the mood you want to create—pastels for baby showers, bold brights for birthday parties, or muted tones for weddings.
- Patterns and Prints: Mix florals, stripes, polka dots, and solids for a playful eclectic effect. Alternatively, go monochrome for a sleek, modern look.
- Durability: Outdoor buntings should be made from UV-resistant or waterproof fabric when possible, especially if exposed to the elements.
Step-by-Step Instructions for Creating Your Own Fabric Scrap Bunting
Step 1: Wash and Prepare Your Fabric
Pre-wash and iron all fabric scraps to prevent shrinkage and ensure a crisp finish. Lay them flat and organize by color or size.
Step 2: Make Your Template
Cut a triangle (or desired shape) from sturdy cardboard or cardstock. Standard bunting triangles are around 6–8 inches tall and 5–6 inches wide, but you can adjust based on your space.
Step 3: Cut the Fabric
Using your template, trace and cut out as many fabric pieces as you need. You may fold fabric in half to create double-sided flags or use single layers for a more rustic look.
Step 4: Sew or Attach the Flags
Pin or place the flags along your ribbon or string, spacing them evenly. Sew across the top edge using a zigzag or straight stitch. Alternatively, you can fold the top edge over the string and secure it with fabric glue or safety pins for a no-sew approach.
Step 5: Finish the Edges (Optional)
Use pinking shears to add a decorative edge and reduce fraying, or hem each triangle for a cleaner, more professional look.
Step 6: Hang and Enjoy
Display your bunting across windows, porches, ceilings, or fences. Adjust length and drape for visual balance and flow.
Creative Ways to Personalize Your Fabric Scrap Bunting
- Add Embellishments: Stitch buttons, sequins, or embroidery onto individual flags.
- Use Lettering: Spell out names or messages by stenciling or appliqueing letters.
- Mix Shapes: Combine triangles, circles, hearts, or pennant shapes for visual variety.
- Layered Flags: Overlap multiple layers of fabric for added texture and interest.
- Incorporate Photos: Print images on fabric or attach Polaroids for a memory bunting.
Seasonal and Themed Adaptations
One of the joys of fabric scrap bunting is its flexibility for all seasons and events:
- Spring: Florals and pastel tones.
- Summer: Bright colors, tropical prints.
- Fall: Earth tones, leaves, and plaids.
- Winter: Icy blues, whites, and snowflake patterns.
Use holiday-themed fabrics to create garlands for Halloween, Christmas, Valentine’s Day, or Fourth of July.
Functional Uses for Fabric Scrap Bunting
Beyond decoration, your handmade bunting can serve functional and emotional purposes:
- Photo Backdrops: Ideal for parties or small event photo booths.
- Booth Displays: For crafters and vendors at fairs and markets.
- Home Markers: Personalize doors, beds, or storage spaces.
- Classroom Decor: Teachers can use themed buntings to reflect seasons or learning topics.
Eco-Friendly and Sustainable Aspects
Fabric scrap bunting promotes sustainability in several ways:
- Zero-Waste Philosophy: Utilize every leftover piece of fabric instead of discarding it.
- Reusability: Unlike disposable banners, fabric buntings can be reused for years.
- Compostable Materials: When made from natural fibers and threads, your bunting can eventually be composted.
- Minimal Tools: No need for extensive or electricity-based equipment—hand sewing works just fine.
Hosting a Bunting Craft Party
Gather friends, family, or community members for a collaborative bunting workshop:
- Potluck and Craft: Everyone brings scraps to share, and you spend a few hours creating together.
- Swap Station: Trade fabric pieces for greater variety.
- Kids Corner: Let children decorate pre-cut triangles with fabric markers or stickers.
These events are not only productive but build bonds through shared creativity.
Storage and Care for Longevity
To keep your bunting looking vibrant:
- Clean gently: Spot clean or hand wash with mild detergent.
- Dry fully before storing: To avoid mildew or color bleeding.
- Fold carefully: Store flat or loosely rolled to prevent creasing.
Use silica gel packs or lavender sachets in your storage box to prevent moisture and moth damage.
Where to Display Your DIY Fabric Bunting
- Across fireplaces, staircases, or entryways
- In nurseries or children’s rooms
- Around outdoor tents, picnic areas, or pergolas
- At market stalls or craft booths
- Along shelves, headboards, or bookshelves
Each space becomes more personal and welcoming when adorned with handmade details.ainable practices and personal fulfillment. Happy crafting!
Choosing the Right Fabric
When it comes to choosing the fabric scraps, it is important to consider the type and texture of the fabric, and also the color and pattern. The fabric type should be such that it can be easily cut and sewn without fraying. Also, the colors and patterns should blend well with each other to create a visually appealing bunting.
Step-by-Step Procedure
Step 1: Preparing the Fabric Pieces
The first step is to prepare the fabric pieces. Use a cardboard or paper template to cut the fabric into the desired shape, usually triangles or squares. The size of the pieces can vary according to your preference.
Step 2: Sewing the Fabric Pieces
Next, sew the fabric pieces onto the string or ribbon. This can be done either by hand or using a sewing machine. The pieces should be evenly spaced to ensure a uniform look.
Step 3: Finishing Touches
Once all the pieces are sewn onto the string or ribbon, the fabric scrap bunting is ready to be hung. It can be arranged in various ways to create different effects.
Maintaining Your Fabric Scrap Bunting
Maintaining your fabric scrap bunting is equally important to ensure its longevity. Most fabric buntings can be gently washed by hand or in the machine on a gentle cycle. However, it is always advisable to check the washing instructions for each type of fabric used in the bunting.
In addition, try to avoid exposure to harsh sunlight or rain as it can cause the colors to fade. Store your bunting in a dry and clean place when not in use.
Conclusion
One of the joys of working with fabric scrap bunting is the freedom it gives you to express your personal style. Whether you’re aiming for a rustic farmhouse vibe, a bohemian flair, or a classic vintage feel, your fabric choices can reflect that theme. Consider selecting a palette of complementary tones to give the bunting a cohesive appearance, or go bold with contrasting hues for a cheerful, eclectic look.
If you’re creating bunting for a specific occasion—such as a wedding, birthday, or seasonal celebration—use fabrics that enhance the overall theme. For instance, floral patterns work beautifully for spring garden parties, while red and green tones with gingham checks can be ideal for a cozy Christmas setup. Halloween buntings might include orange, black, and purple in quirky or spooky prints.
You can also take the opportunity to mix fabric textures—cotton, linen, lace, or burlap—to give your garland a more tactile and dimensional feel. Playing with textures adds visual interest and elevates the design beyond simple fabric flags.
Decorative Finishing Techniques
Beyond the basic steps of cutting and stringing fabric pieces, you can incorporate finishing techniques to enhance your bunting’s appearance. Consider pinking shears for decorative edges that prevent fraying, or stitch a border along each triangle to add contrast and strength. Adding small embellishments like buttons, embroidery, or hand-painted designs gives your project a bespoke look and turns each flag into a mini canvas for creativity.
Another popular finishing option is double-sided bunting, where two fabric triangles are sewn back-to-back so that both sides look polished. This is particularly useful for buntings hung across open spaces like outdoor patios or between poles, where both sides are visible.
Fringe or tassels can also be added between the flags or at each end of the bunting for extra charm. These small additions go a long way in making your garland feel special and carefully crafted.
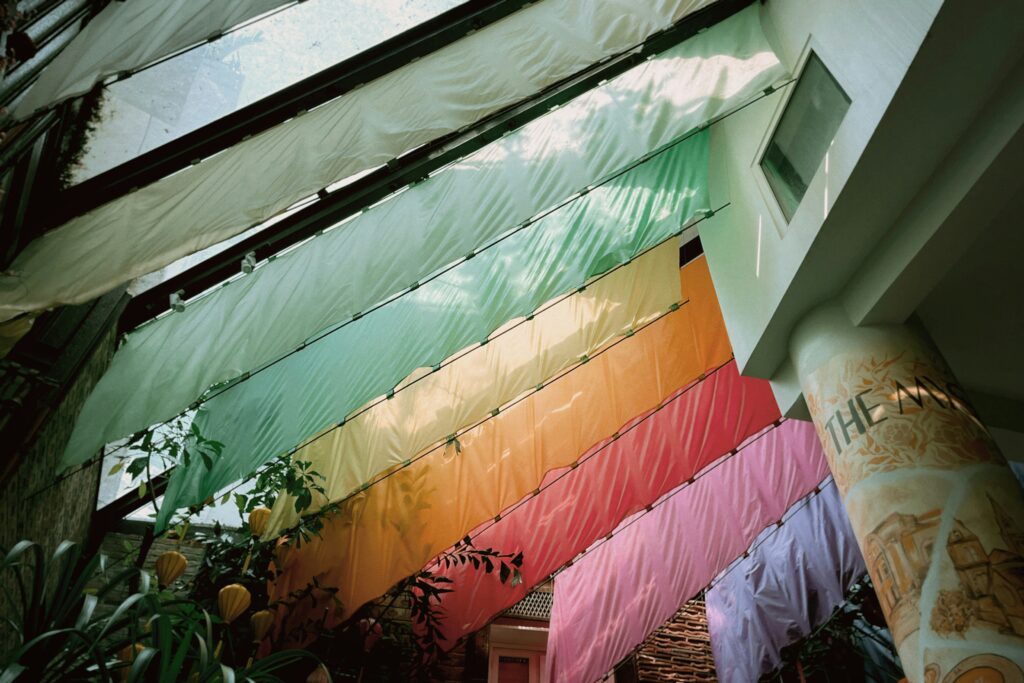
Display Ideas for Every Space
Fabric scrap buntings are incredibly versatile when it comes to display. Indoors, they can be draped across mantels, headboards, bookshelves, mirrors, or windows. They add a cozy, whimsical touch to nurseries, craft rooms, and entryways. Outdoors, they brighten up garden fences, patios, gazebos, or even trees for festive garden parties and backyard weddings.
When installing the bunting, use small hooks, thumbtacks, or removable adhesive strips for easy placement. For longer garlands, tie the ends around nails or curtain rods. If you’re setting up for an event, consider combining fabric buntings with string lights or fresh greenery for an extra magical effect.
Buntings can also serve functional purposes, such as designating zones at events—like gift tables, food areas, or photo booths. For kids’ parties, use them to outline play areas or game stations. In classrooms or craft studios, they can serve as both decoration and inspiration for students and creatives alike.
Making Bunting with Kids
Fabric scrap bunting is also a fantastic craft project to enjoy with children. Let them choose their favorite fabric scraps, help cut out shapes (with safety scissors if needed), and draw or stamp designs onto each piece. Instead of sewing, consider using fabric glue or fusible bonding tape to make the project more accessible for younger crafters.
This activity fosters creativity, improves fine motor skills, and provides a fun bonding experience. The result is not only a decorative item but a handmade memory created together—perfect for family events or simply brightening up a child’s room.
Gifting Handmade Buntings
Handmade buntings make thoughtful and unique gifts. Consider crafting a bunting that spells out a baby’s name as a nursery decoration, or create a wedding keepsake with fabric sourced from the couple’s favorite colors or even swatches from significant clothing items like old shirts or handkerchiefs.
For housewarmings, buntings add a personal touch that new homeowners will appreciate. You could also present them in a themed box, rolled up and tied with twine, alongside a handwritten note explaining the significance of the fabrics used.
By giving handmade decor, you’re not only offering a beautiful item but also sharing your time, effort, and creative expression—something that can’t be replicated in store-bought gifts.
Seasonal Rotations and Bunting Collections
Once you get started with fabric scrap buntings, it’s hard to stop at just one. Many enthusiasts enjoy creating seasonal buntings that can be rotated throughout the year. This allows you to refresh your space regularly with minimal effort.
Create a winter collection with cozy flannel and snowflake patterns, a spring version full of pastels and florals, a summer bunting with nautical or tropical themes, and a fall garland featuring leaves, plaids, and harvest tones. Having a selection of buntings at hand ensures you can always tailor your space to match the mood or celebration.